This article is a pictorial tutorial for tying the Improved Clinch Knot freehand so that it can be easily attached to the bend of the hook for dropper flies.
This is a step by step description of the method I use to tie tippet to the bend of the hook. I have also used hemostats to clamp on to the point of the hook, creating false eye on which to tie the knot. This is much faster and more reliable.
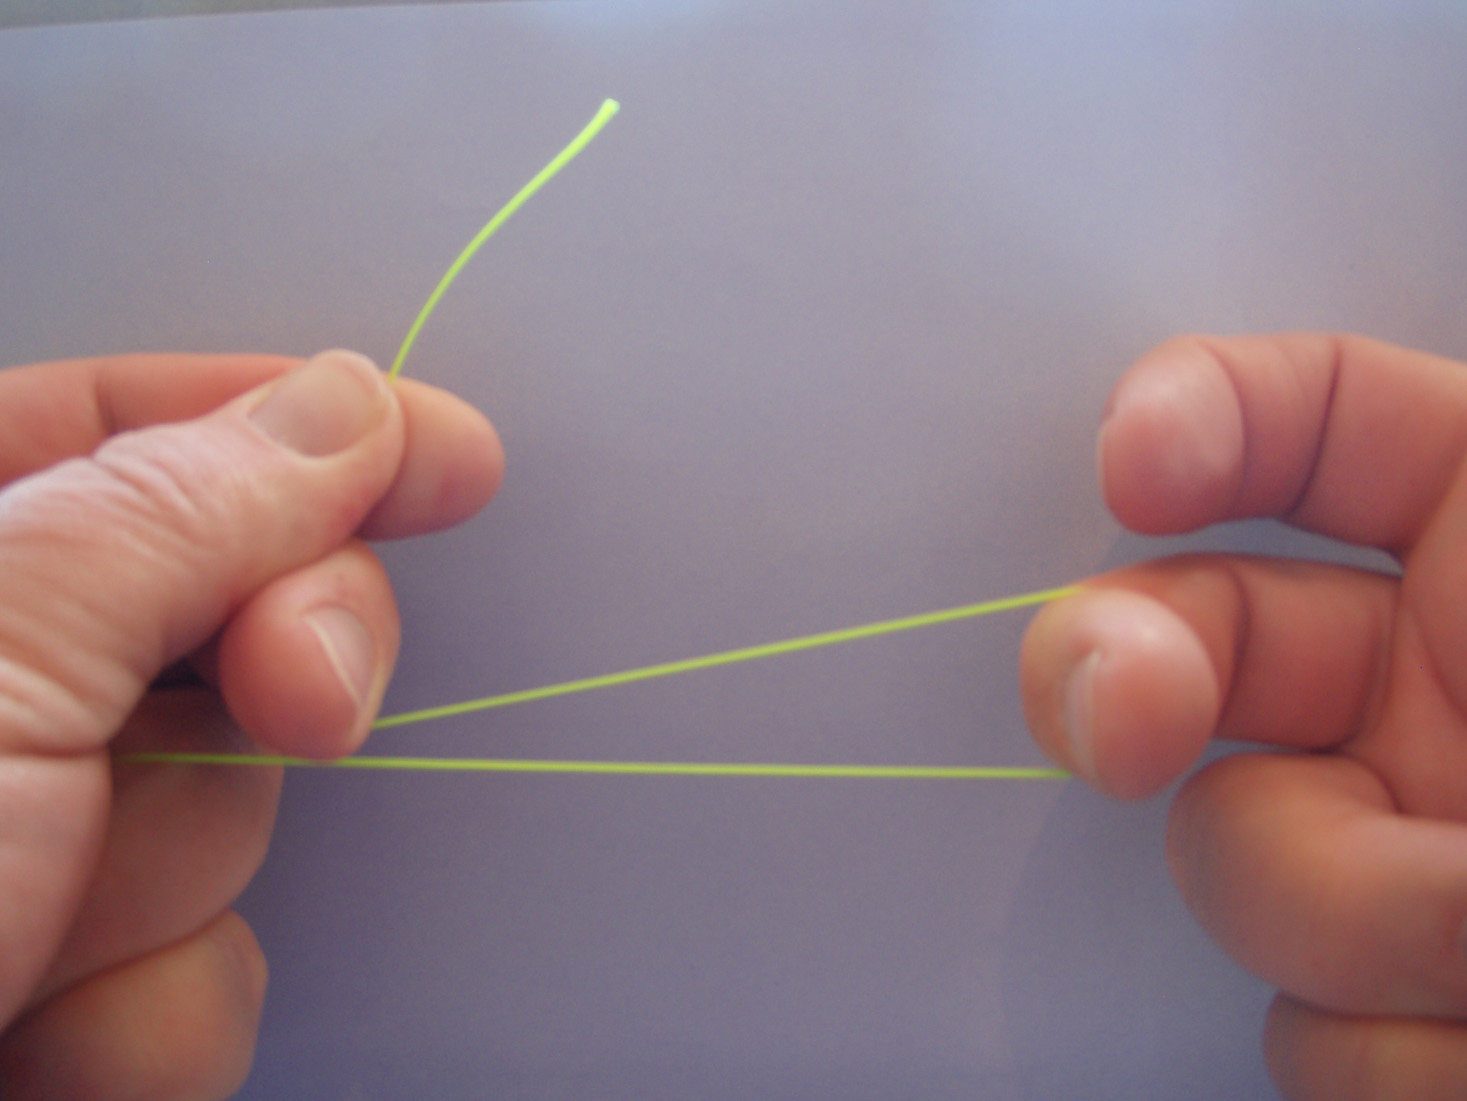
Step 1: Starting point. Notice that the ring and little fingers of the left hand are anchoring the tippet. Also, middle fingers of both hands are used as anchors.
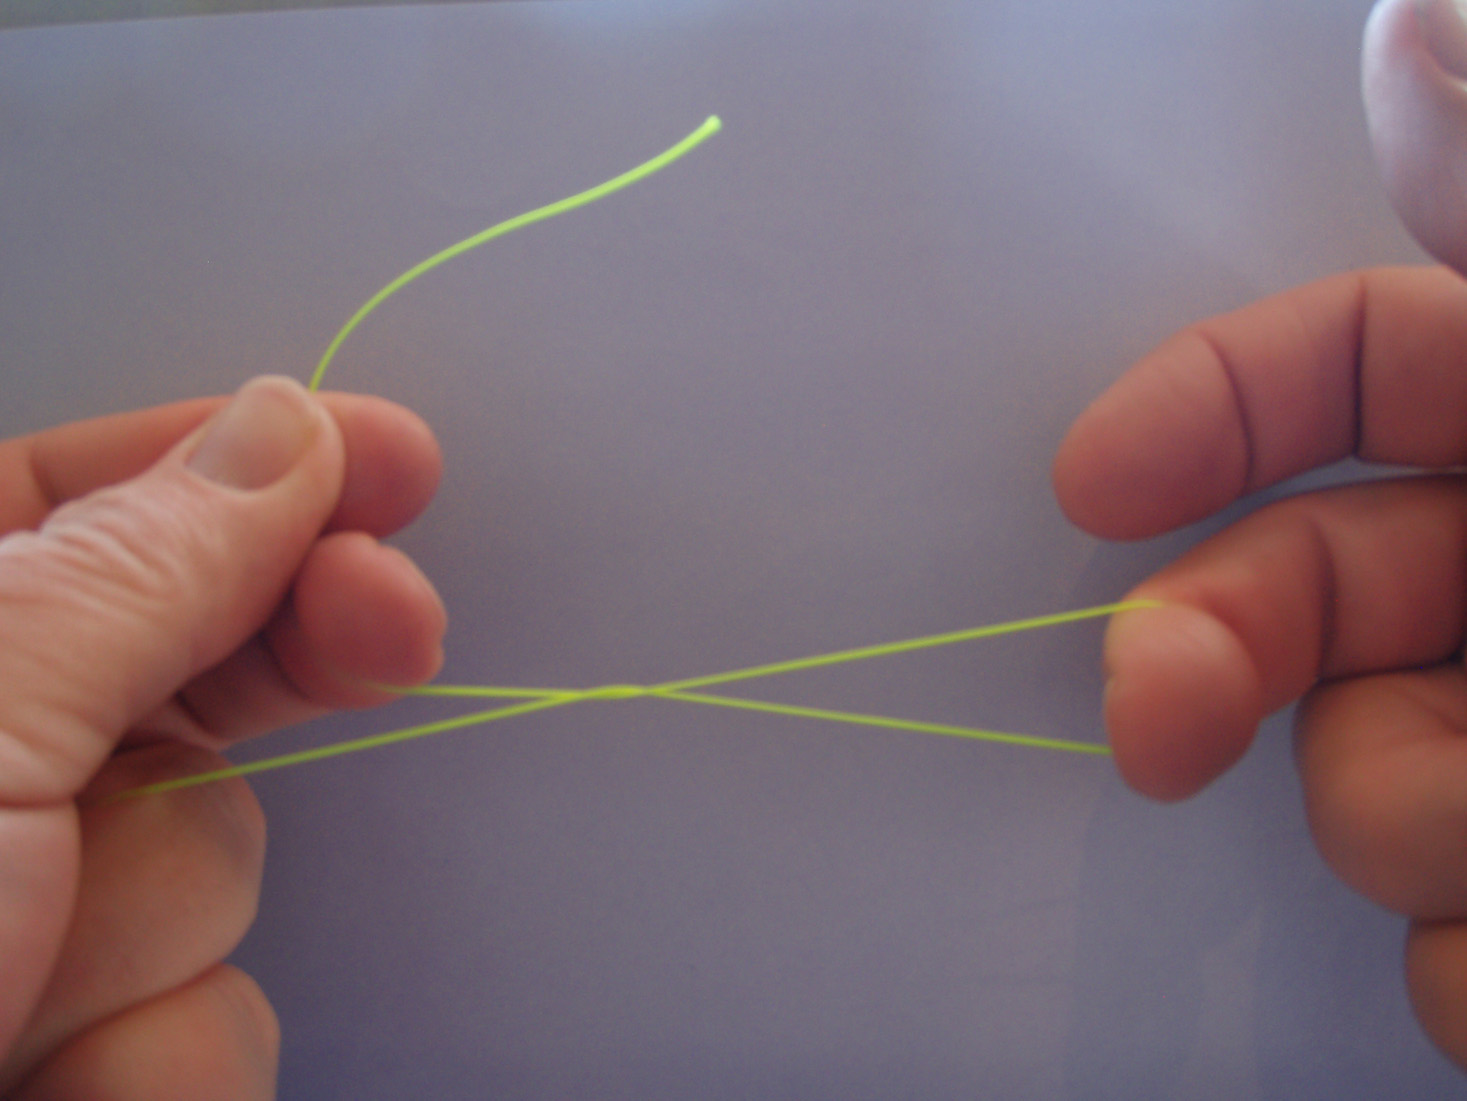
Step 2: The middle finger of the right hand substitutes as the eye of the fly and starts the twists (wraps) of the clinch knot.
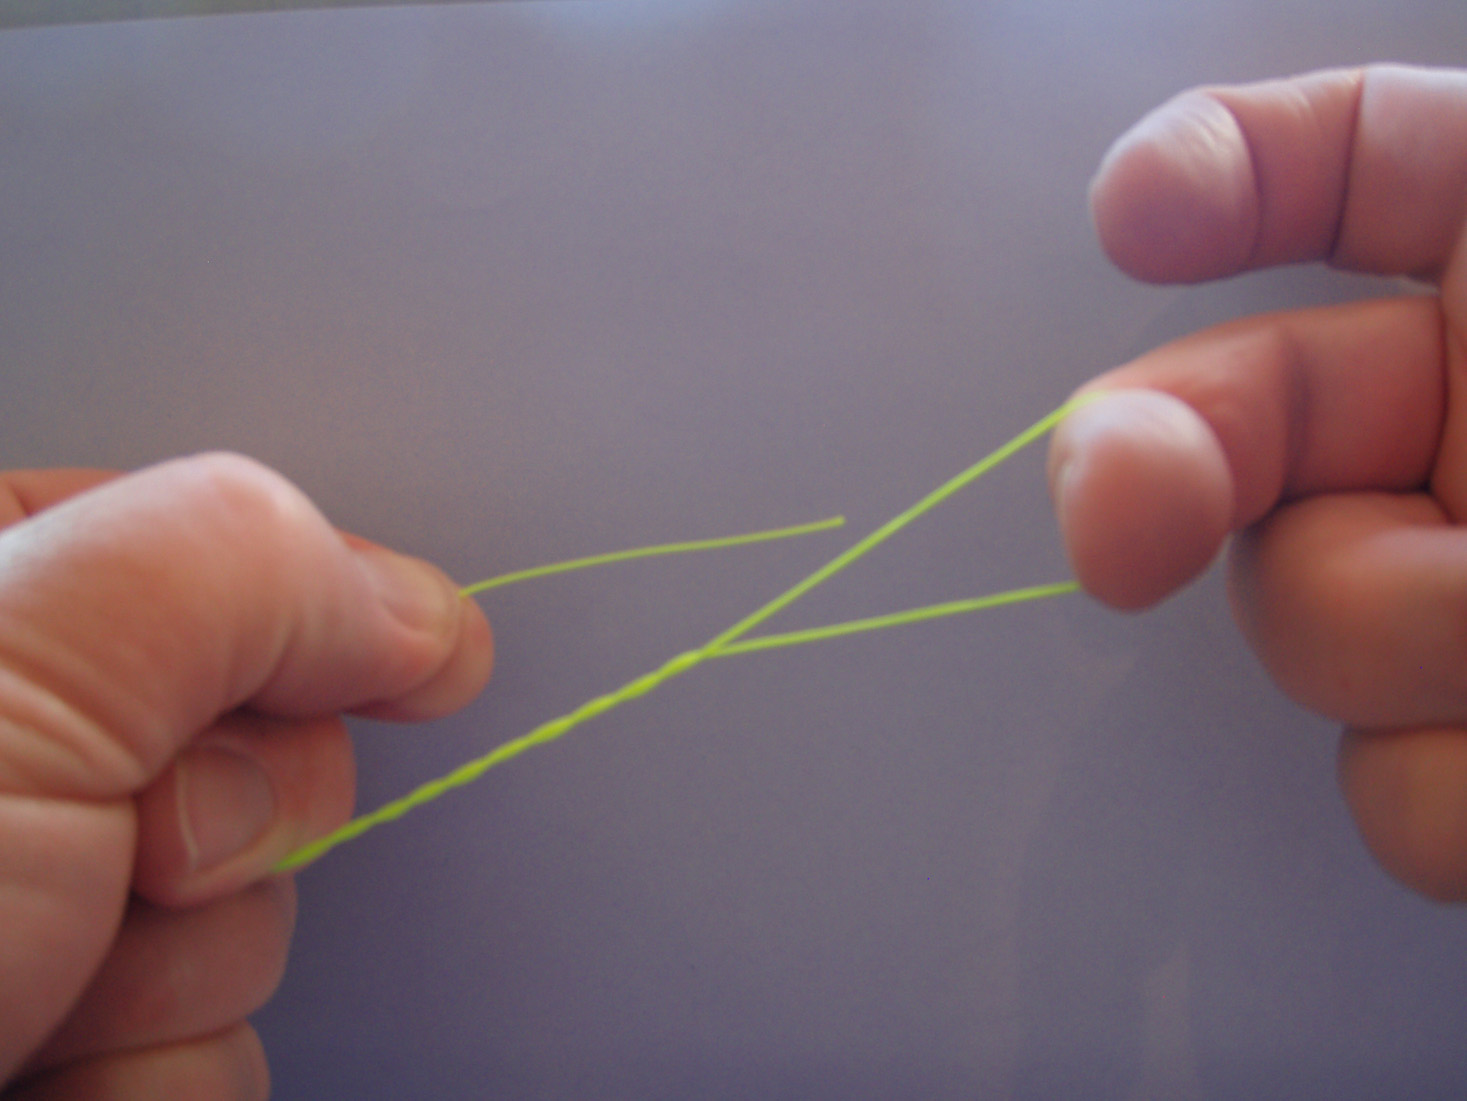
Step 3: With five twists completed, the thumb and index of the left hand feeds the tag through the loop created by the right middle finger.
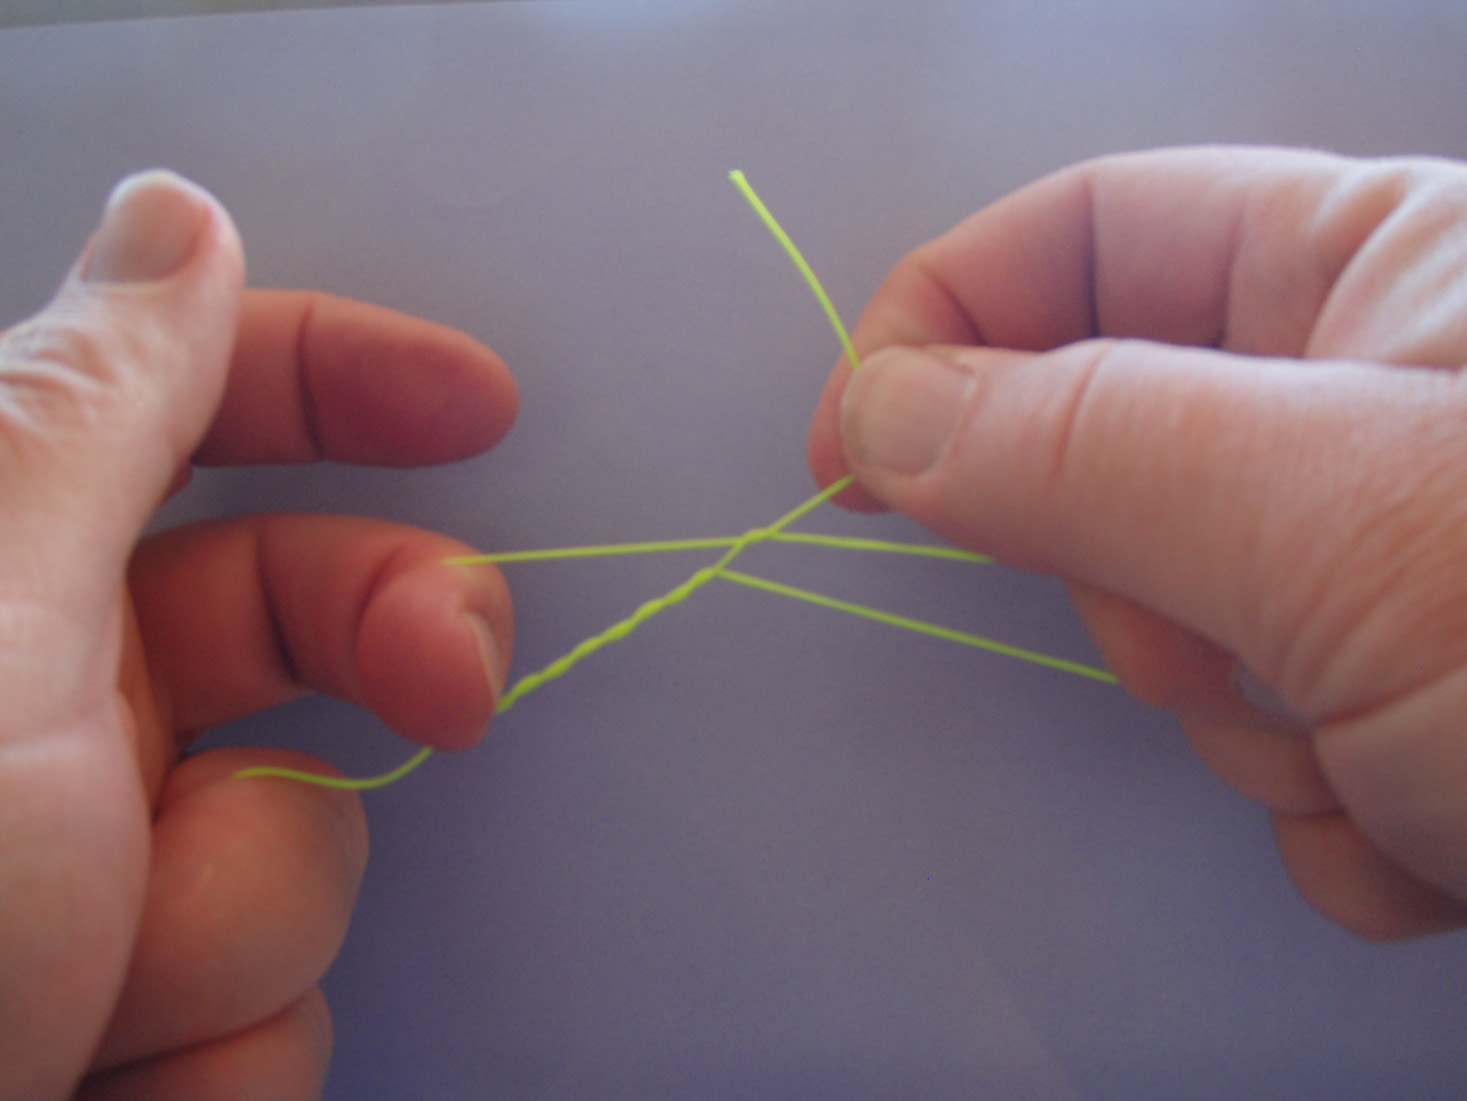
Step 4: Thumb and index fingers of right hand now grab the tag and feed it through the loop of the left middle finger.
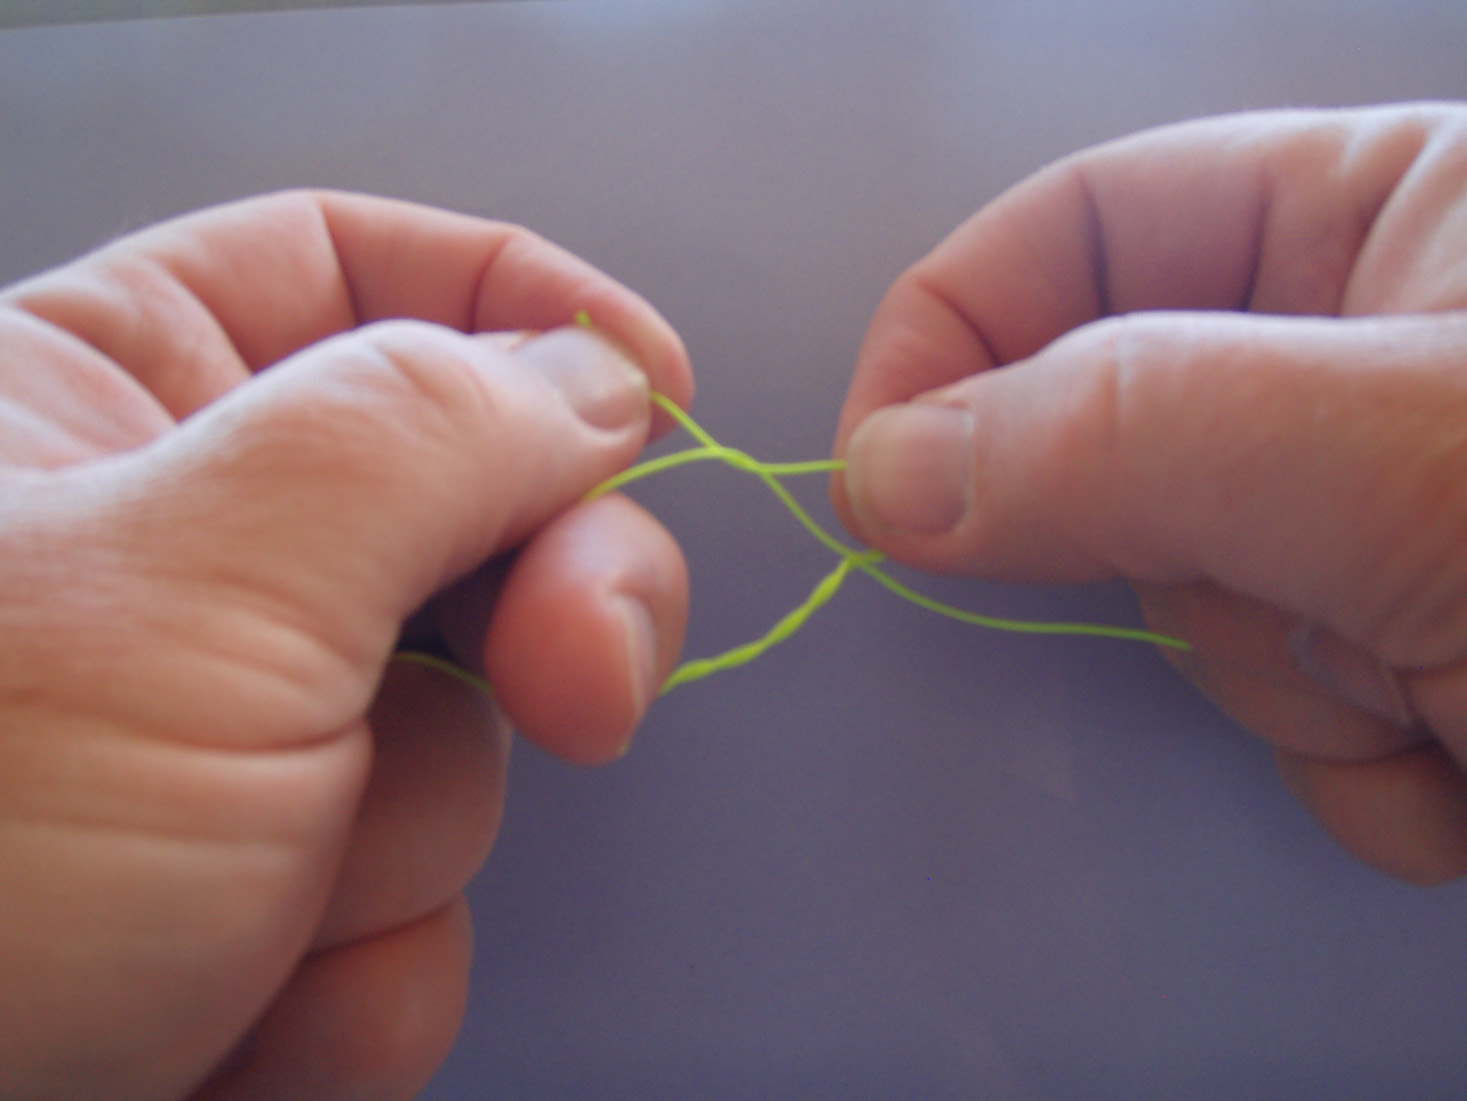
Step 5: Hand-off (Finger-off) from right hand to left hand is complete. This step distinguishes this as an "Improved Clinch Knot."
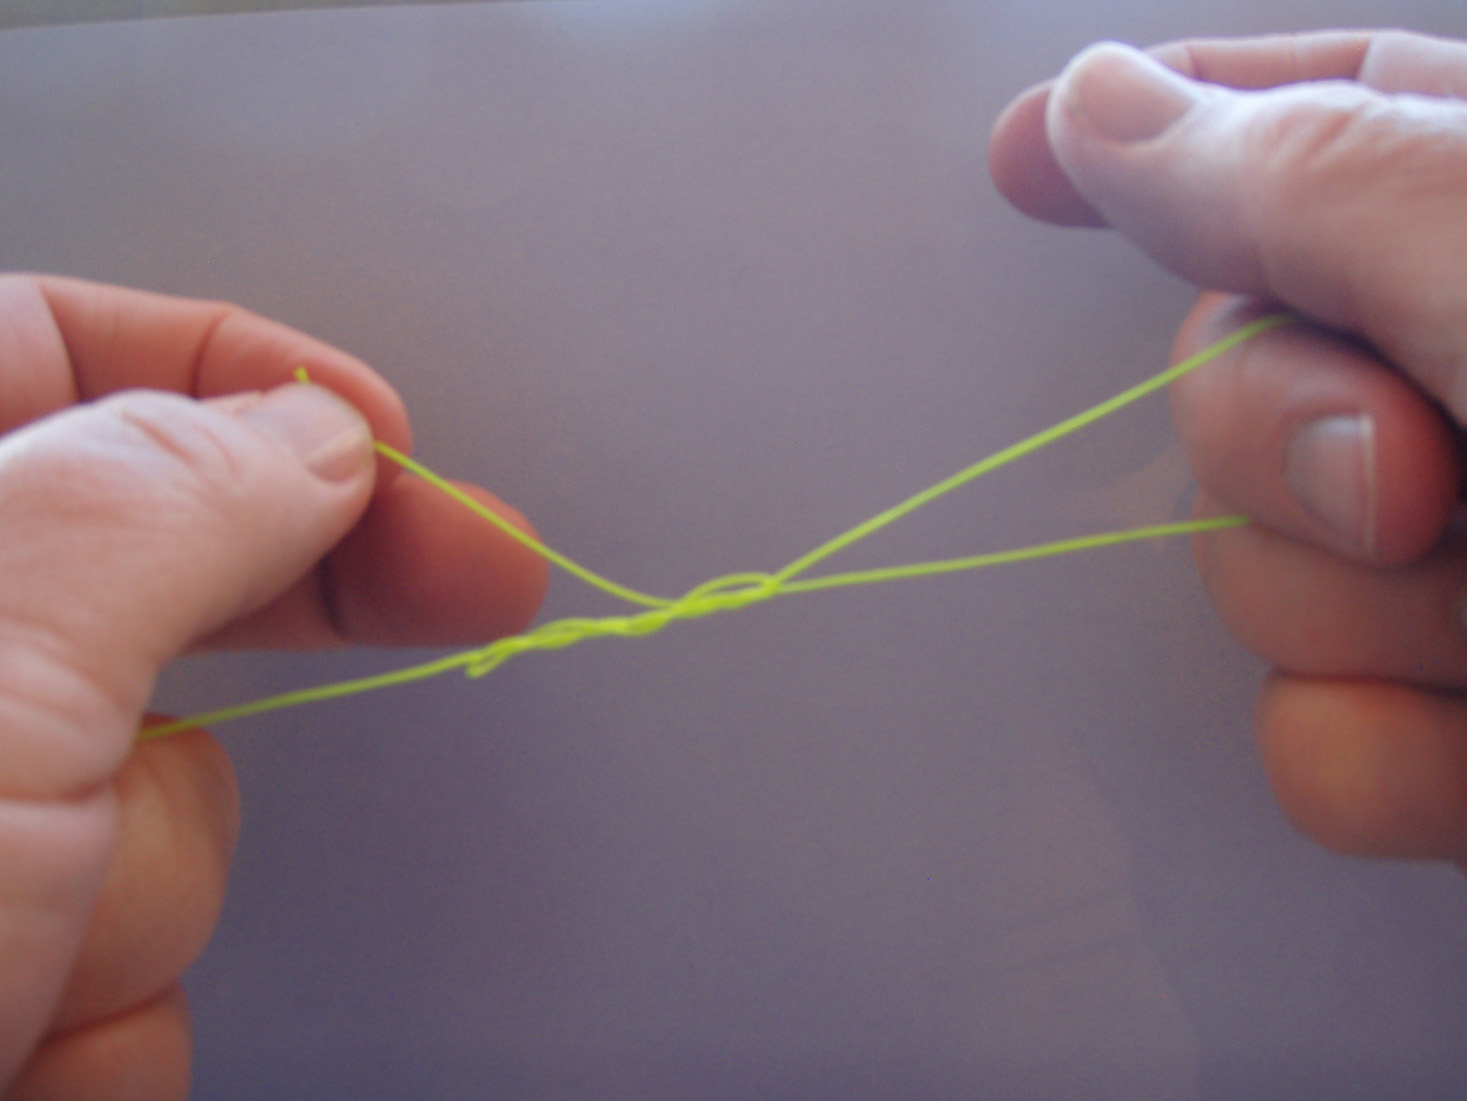
Step 6: Release middle finger of left hand from loop and start to tighten knot.
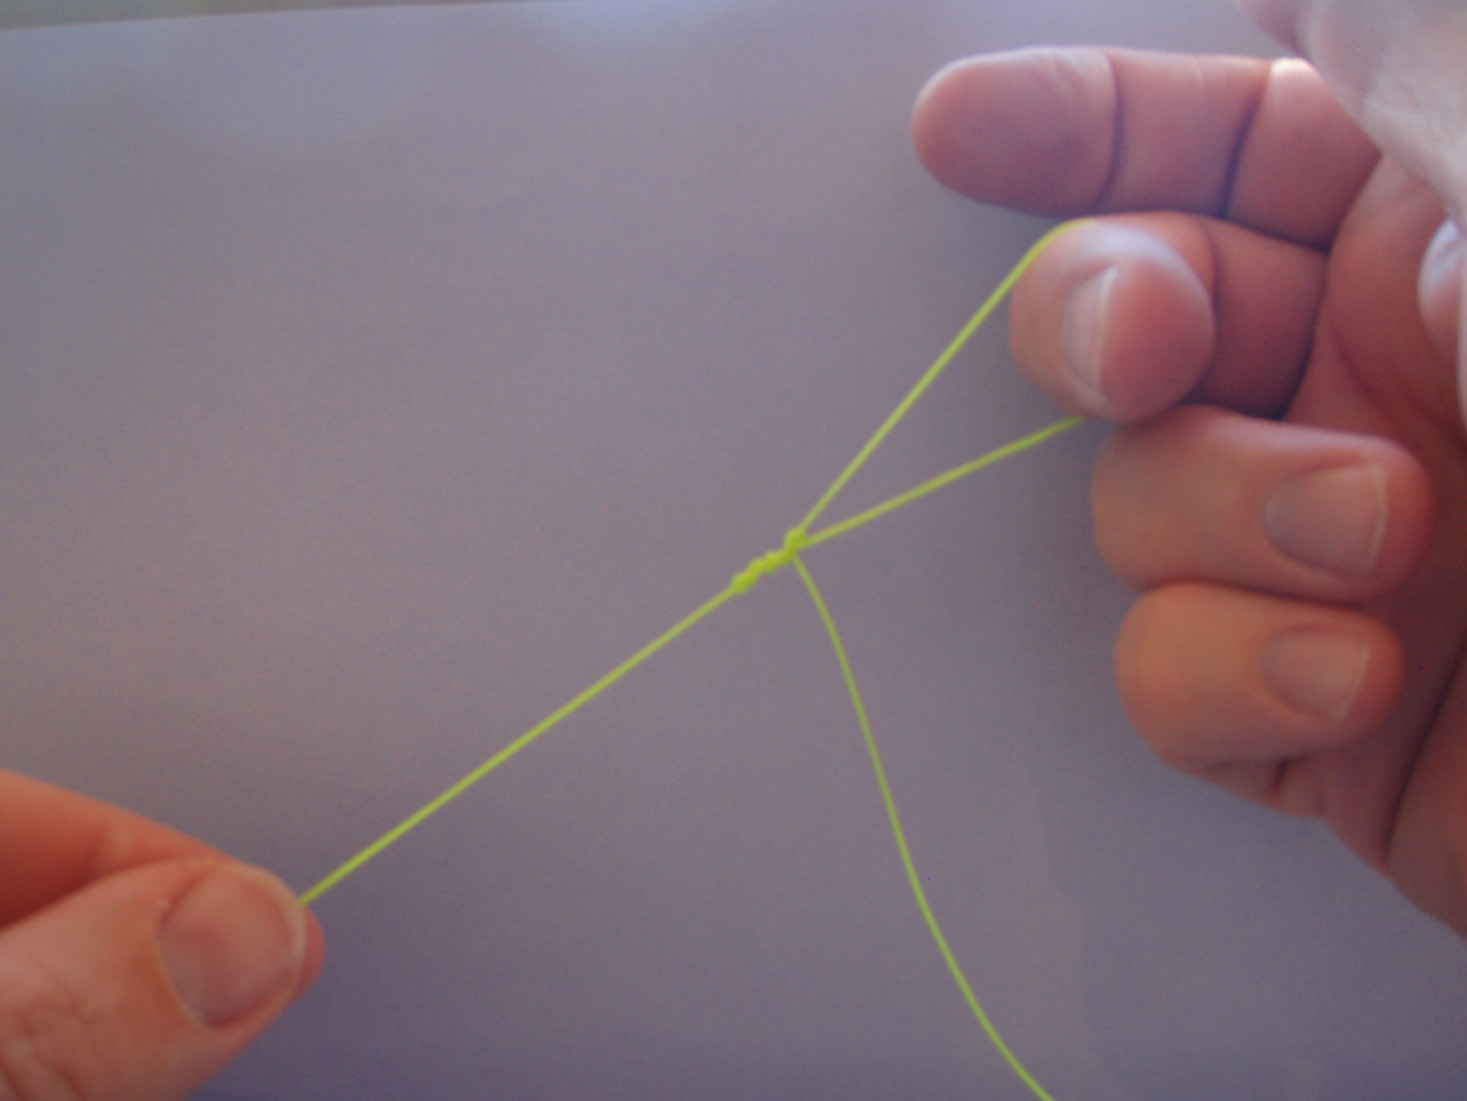
Step 7: Tighten knot to manageable loop, but not too tight. This is a good time to moisten knot. I put entire loop and knot in my mouth.
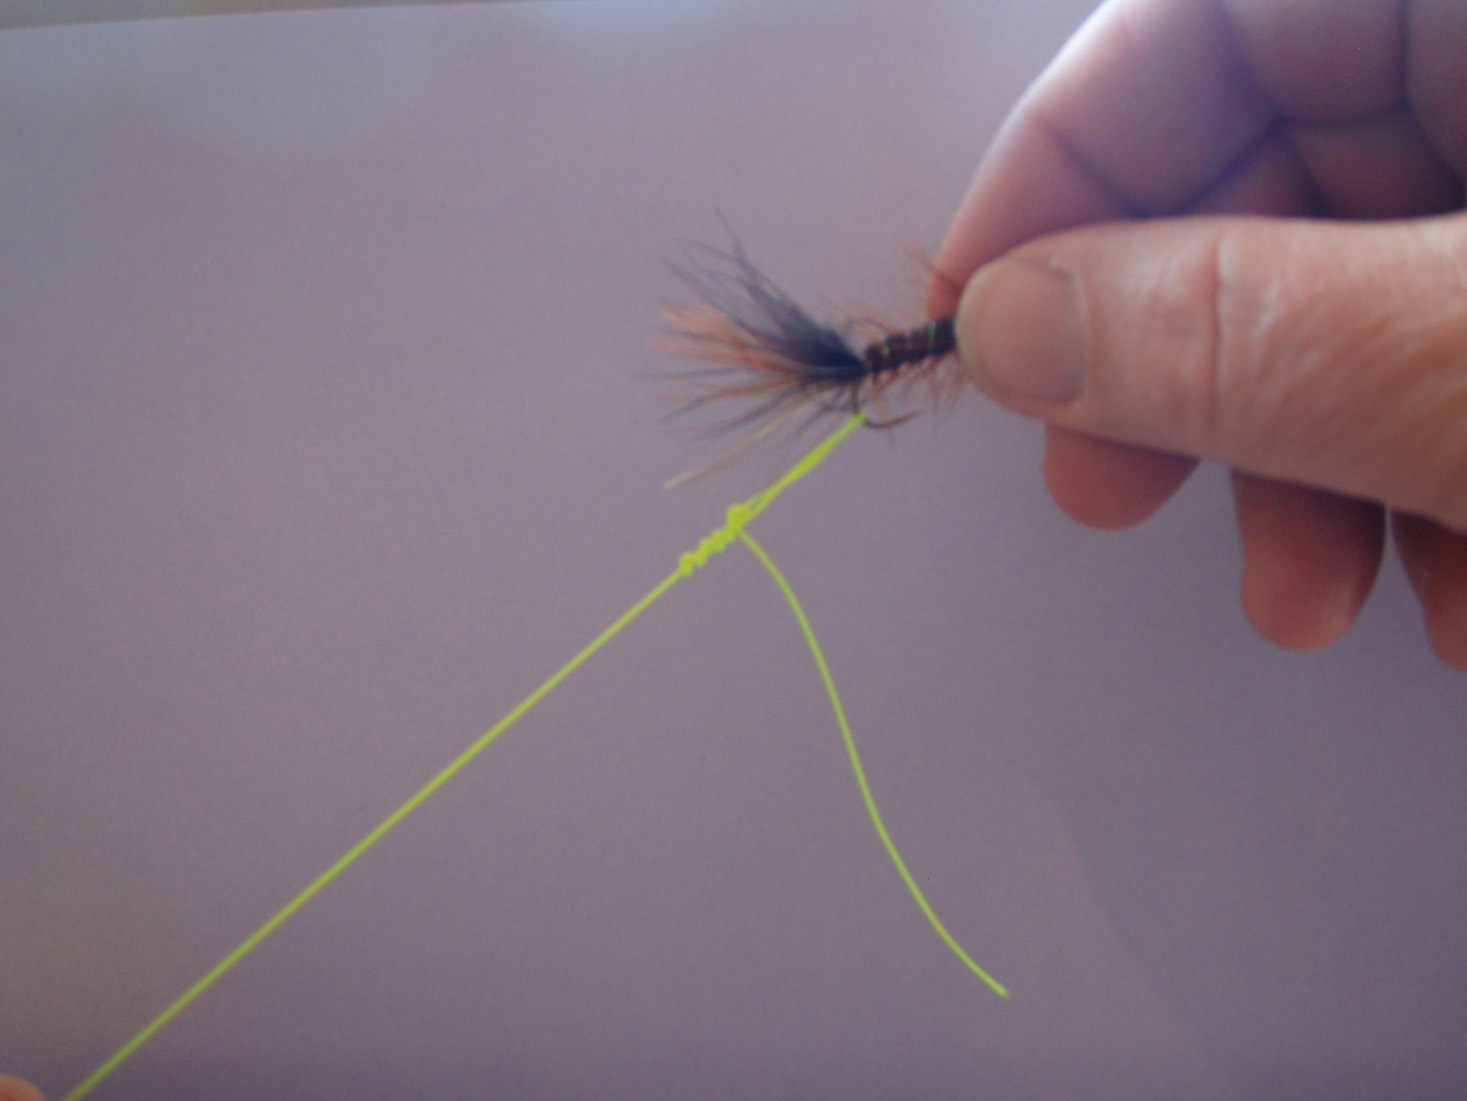
Step 8: Place loop over hook bend of fly.
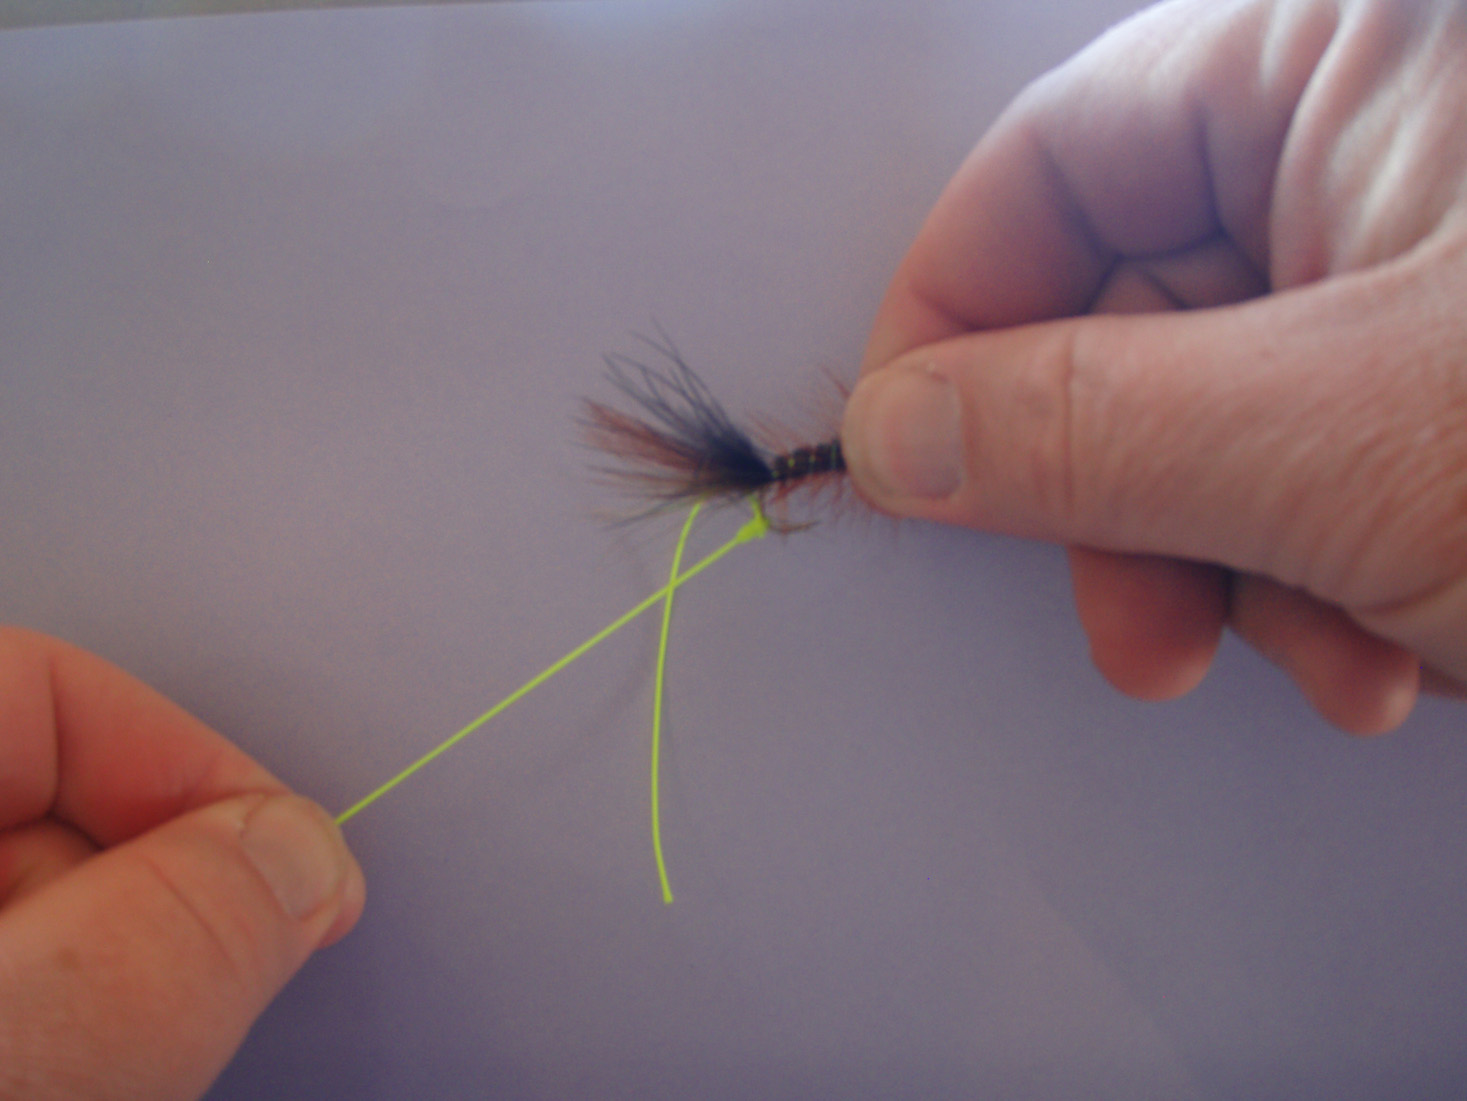
Step 9: Make sure knot is well moistened and you should able to snug it up on the hook quickly. If not, work the knot down to the bend with thumb and index fingers from right hand. Tighten and trim tag.

